
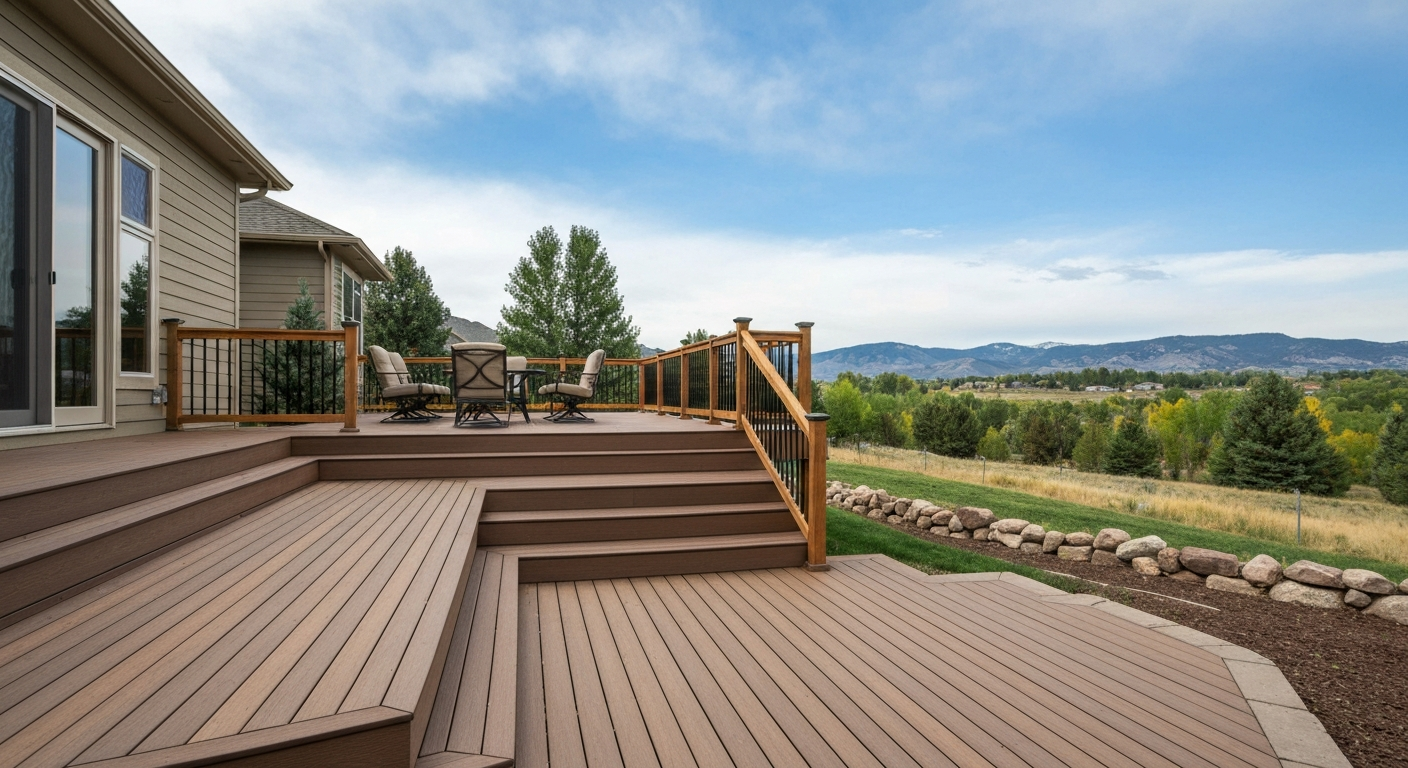
Multi-Level Deck Cost Breakdown: What Drives the Price Up or Down
The first question most homeowners ask after deciding they want a multi-level deck is: what is this going to cost?
That is the right question to ask early, and it deserves a direct answer.
Pricing varies by material: Pressure-Treated Wood: $30 – $40 per sq. ft. Cedar or Redwood: $40 – $55 per sq. ft. Standard Composite: $35 – $60 per sq. ft. Premium PVC / Capped Composite: $55 – $75+ per sq. ft. That is the honest starting number. The longer answer is that several variables move that number depending on your specific project, and understanding those variables before you talk to any contractor puts you in a much better position to evaluate what you are quoted and whether it is realistic.
This breakdown covers every major cost driver in a multi-level deck project. By the end, you will know roughly where your project sits and why.
The Starting Point: Base Rate and What It Covers
Pricing varies by material: Pressure-Treated Wood: $30 – $40 per sq. ft. Cedar or Redwood: $40 – $55 per sq. ft. Standard Composite: $35 – $60 per sq. ft. Premium PVC / Capped Composite: $55 – $75+ per sq. ft. That rate is measured across the total decking surface area on all levels combined. A two-level deck with 200 square feet per tier totaling 400 square feet uses the same calculation as a 400-square-foot single-level deck at the base rate, with cost adjustments layered on top for the structural complexity a tiered build requires.
What the base rate covers:
- Site assessment and custom design
- Permit application, coordination, and management through all required inspections
- Concrete footings excavated to local frost depth
- Post installation with structural hardware rated for outdoor use
- Beam, joist, and ledger framing across all tiers
- Ledger flashing where the deck attaches to the house
- Transition framing for stair openings and landing platforms between tiers
- Decking surface installation on all levels using pressure-treated lumber
- Stair construction between all tiers, including stringers, treads, and risers
- Railing installation at all code-required locations
- Site cleanup throughout the build and at final completion
That is a genuine all-in starting figure, not a materials-only number. Design work, permits, inspections, and project management are part of the scope, not line items that surface after you agree to a price.
Factor 1: Total Square Footage
The total decking surface across all levels is the primary cost driver in any multi-level project. More square footage means more framing material and more labor. That relationship is roughly linear across the range of projects we build.
One nuance worth understanding: the per-square-foot rate does not always scale up proportionally on larger projects. Fixed costs like design work, permit processing, and crew mobilization spread more thinly across a larger total footprint. This is one reason a 600-square-foot multi-level build sometimes quotes closer to the lower end of the per-square-foot range, while a smaller but structurally complex project comes in closer to the upper end or above it.
The distribution of square footage across tiers also matters. A build where one level is substantially larger than the others creates uneven structural demands. The larger tier carries more load and requires beam and joist sizing that reflects what it is actually carrying, which affects material cost for that portion of the structure.
Factor 2: Number of Levels and Stair Complexity
A two-level deck is the most common configuration. Three-level builds exist, and some properties with steep terrain call for four levels across a long grade run, but the two-level structure handles most of the situations homeowners bring to us.
Each additional tier adds real cost in three specific ways.
First, each tier is its own framing system. Beams, joists, post bases, and structural hardware multiply with each level. The framing material for a three-level deck involves roughly 50% more structural framing than a two-level build of similar total square footage.
Second, each tier transition requires stair construction. A two-level deck has one stair run connecting the tiers plus the primary stair descent to grade. A three-level deck has two inter-tier stair runs plus the primary descent. Each run involves stringer layout, treads, risers, and handrails, and each requires precision to produce a stair that feels correctly proportioned to walk and meets code requirements for rise, run, and handrail height.
Third, each tier transition involves landing platform framing at the point where one level meets the stair leading to the next. Landing platforms are not large, but they carry specific load requirements and require their own framing independent of the tiers they connect.
The configuration of the stair runs also affects cost. A straight stair run between two levels is simpler than an L-shaped run or a switchback configuration. When the grade or the lot layout forces a stair run to change direction, that adds framing complexity and increases labor time. This is something we identify during the site assessment and account for in the estimate before you agree to anything.
Factor 3: Lot Grade and Site Conditions
Sloped lots are one of the primary reasons homeowners choose multi-level construction in the first place. The grade creates a design challenge that a flat single-level deck cannot resolve cleanly, and a tiered structure follows the terrain.
But the same slope that drives the design decision also affects the cost.
On a steeply sloped lot, post heights on the low side of the upper tier can be substantial. Taller posts carry greater loads, require larger post dimensions, and may require additional lateral bracing depending on the height. Tall post configurations also change how the footings are designed and sized, since the leverage on the post base increases with post height. Both the posts and the footings below them are sized for the actual loads they carry, not to a generic standard.
Site conditions beyond grade also factor in. Tight access, where the deck location is only reachable through a narrow side yard or over established landscaping, restricts how materials reach the work area and what equipment is practical. That adds handling time. Existing concrete, underground irrigation, utility runs near the footing locations, and mature tree roots near the build footprint all create conditions that affect how the work proceeds. None of these are automatic cost surprises, but they are exactly why a site visit is the only honest basis for an estimate.
Factor 4: Frost Depth Requirements in Northern Colorado
This factor is specific to the region and deserves direct attention.
Building codes require deck footings to extend below the frost depth for the local climate. In Greater Northern Colorado, that frost depth is typically 36 inches. Footings that do not reach below that depth are vulnerable to frost heave, where frozen soil lifts structural elements during freeze cycles. Frost heave works against every connection in the structure above the affected footing. The damage accumulates gradually. By the time it becomes visible through railing posts that have shifted or boards that have pulled away from the framing, the structural displacement has usually been happening for several seasons.
Building to the required frost depth means more excavation and more concrete than a shallower footing would. It is not an optional upgrade on a permitted, inspected structure in this climate. It is a code requirement, and it is included in the base rate.
If you receive a quote significantly below the range you are seeing from other contractors in Northern Colorado, footing depth is one of the specific items worth asking about. A deck built on footings that do not reach frost depth may perform without visible problems in the first year or two. The issues tend to appear after three or four freeze-thaw cycles. At that point, the structural displacement has already moved connections and put repeated stress on fasteners throughout the framing above.
Factor 5: Ledger Attachment and Your Home's Siding Type
On an attached deck, the upper level connects to the house through a ledger board fastened to the home's structural rim joist or band joist. That ledger carries the load of the deck's attached edge and must be fastened with code-required hardware and fastener patterns.
The type of siding on your home affects how involved this work is.
Standard wood or fiber cement lap siding is the most straightforward situation. The siding is cut back at the ledger location, flashing is installed to direct water away from the connection, and the ledger is attached directly to the structural framing behind it.
Stucco and EIFS require more careful handling. These surfaces cannot simply be cut back and replaced. The flashing approach has to work with the siding system's moisture management layer, and the attachment method involves different considerations than a standard lap siding situation. The extra time and material involved here is real.
Brick and masonry are the most involved ledger scenarios. Masonry attachment requires specific hardware, and the structural connection has to be made to the framing behind the masonry rather than to the masonry itself. This is a situation we identify during the site walkthrough and account for in the estimate. It is not the kind of thing that should appear as a change order after construction starts.
Factor 6: Surface Material Choice
The structural framing of any deck, every beam, joist, post, and ledger, is pressure-treated lumber. This applies regardless of what surface boards sit on top of it. That is not a design preference; it is a code and durability requirement that applies to every deck we build.
Surface boards are where material choice enters the cost conversation.
Pressure-treated lumber at the decking surface is the base-rate option. It performs well in Northern Colorado's climate range, it is cost-effective, and it is included in the starting figure. It requires periodic maintenance, typically cleaning and sealing or staining every two to three years, to hold up well over the life of the structure.
Composite decking is the primary alternative. The material cost for composite boards runs meaningfully higher than pressure-treated lumber, and composite installation involves different fastener systems, spacing requirements, and handling characteristics. If you want composite surface boards on any or all levels of a tiered build, that scope is handled as a separate project under composite deck installation, and the cost difference is determined by the specific composite product you select, the total surface area involved, and the fastener system it requires.
The decision between pressure-treated and composite comes down to a realistic comparison of the upfront material premium for composite against the ongoing maintenance cost of a wood surface across the expected life of the structure, typically 20 to 25 years for a well-built deck in this climate. Neither answer is universally correct. It depends on your budget and how you expect to maintain the deck over time.
Factor 7: Railing Runs and Configuration
Railings are required by code wherever a deck surface sits more than 30 inches above grade. On a multi-level deck, that threshold is assessed independently at each tier. A structure where the lower level sits at 24 inches and the upper level sits at 48 inches requires railings on the upper level and at the top of every stair run serving it, regardless of the lower tier's height.
More railing runs mean more material and more installation labor. A three-level deck with multiple elevated tiers and multiple stair runs will have considerably more railing linear footage than a two-level build where only the upper deck clears the 30-inch threshold.
Railing design also affects cost. The standard approach uses pressure-treated or composite posts and rails with code-compliant wood or metal balusters at the required spacing. Cable railing systems, glass panel railings, and powder-coated aluminum railing systems are available at different price points, and each involves different installation processes and hardware costs. Code-compliant standard railing at all required locations is included in the base scope. Upgraded railing systems are a conversation to have during the design consultation.
Factor 8: Permits and Inspection Fees
Permit fees are a real line item on every Flicker Construction estimate. In Colorado, permit fees for deck structures are calculated differently by each municipality, and they are not minor on larger projects.
Permit fee structures in Greater Northern Colorado typically run between $300 and $1,200 for a residential deck permit, depending on the jurisdiction and the total project valuation. Multi-level builds generally carry higher project valuations than single-level decks, which pushes the permit fee toward the upper end of that range on most tiered projects.
Permit fees are passed through to you at cost. We do not mark them up. They appear as a direct line item in your estimate, and you pay what the municipality charges.
The reason permits matter beyond the fee itself: a deck built without a permit creates a disclosure problem when you sell the home. In Colorado, unpermitted work must be disclosed to buyers. Buyers and their lenders frequently require unpermitted work to be addressed before a transaction closes, either through retroactive permitting, where the process is possible, or through removal. Retroactive permitting typically costs more than the original permit would have, and it may require finished surfaces to be opened up for inspection. The permit cost at the time of construction is a straightforward expense. The cost of managing unpermitted work at the point of sale is a much larger and less predictable problem.
What Is Not in the Base Rate
Several items fall outside the standard multi-level deck construction scope and add to the total project cost when they are needed.
- Demolition and removal of an existing structure. If an old deck needs to be torn down and hauled away before the new build begins, that is a separate line item. When demolition and new construction are part of the same project, we handle both as a combined engagement with separate line items in the estimate.
- Composite surface boards. As covered above, composite decking on any or all levels is a separate scope with its own material and installation cost. It does not replace the standard scope; it extends it.
- Overhead structures. A porch cover or pergola is a separate project category with its own structural planning and permit requirements. When a homeowner wants both a tiered deck and an overhead structure, we scope and permit them separately, even if they are built at the same time.
- Hot tub structural reinforcement. A standard deck frame is not automatically designed to carry hot tub loading. A wet hot tub with occupants can exceed 100 pounds per square foot on the deck surface below it. Standard residential decks are typically designed for 40 to 60 pounds per square foot. If any level of your deck needs to carry a hot tub, that is a design decision that affects beam sizing, joist spacing, footing configuration, and post sizing at the loaded locations. It needs to be part of the design conversation before the permit application is submitted, not a field adjustment after framing has started.
- Staining and sealing. Pressure-treated lumber typically needs six to twelve months to dry before it accepts stain or sealant properly. We advise on timing and product selection, but surface finishing is outside the construction scope.
How to Evaluate What You Are Quoted
A few questions worth asking any contractor before you sign anything.
- Does the estimate include permits? Some contractors provide material-and-labor quotes that exclude permit fees, which appear later as a separate charge. A complete estimate covers permits as a named line item.
- Did the estimator visit your property? An estimate generated from square footage and a phone call cannot account for site conditions, siding type, access challenges, or footing depth. A real number comes from a real site visit.
- Is the footing depth specified? In Northern Colorado, frost depth requirements call for footings at 36 inches. If an estimate does not specify footing depth, ask directly. A contractor who cannot answer that question during the quoting process is unlikely to answer it correctly during the build.
- Who is doing the work? In-house crews maintain consistent quality and accountability standards. Labor that is assembled project by project from subcontractors introduces variability. Ask the question and expect a straight answer.
At Flicker Construction LLC, estimates are free and based on a physical site visit. The number you receive is the number you pay for the agreed scope. Conditions we observe during the estimate visit do not appear as change orders after the contract is signed.
Ready for a Real Number on Your Project?
This breakdown gives you a framework for understanding the variables that shape a multi-level deck estimate and what a realistic price reflects. The only way to get an accurate number for your specific project is a site visit from a contractor who has actually walked your property.
Flicker Construction LLC provides free, no-obligation estimates across Greater Northern Colorado. We visit your property, assess the grade, review your access points and design priorities, and give you a clear itemized number before we leave. No obligation to move forward once you have it, and no pressure calls afterward.
For a complete look at how we build tiered structures from the foundation up, including what every phase of construction involves and the full scope of what is included, see our multi-level deck construction process and what every project includes.